How to Remove Glare from Photo for Free in 2024


Capturing the perfect photo is an art, combining skill, timing, and, sometimes, a bit of luck. However, even the most meticulously planned shots can fall victim to unwanted glare, leaving photographers frustrated and their images compromised.
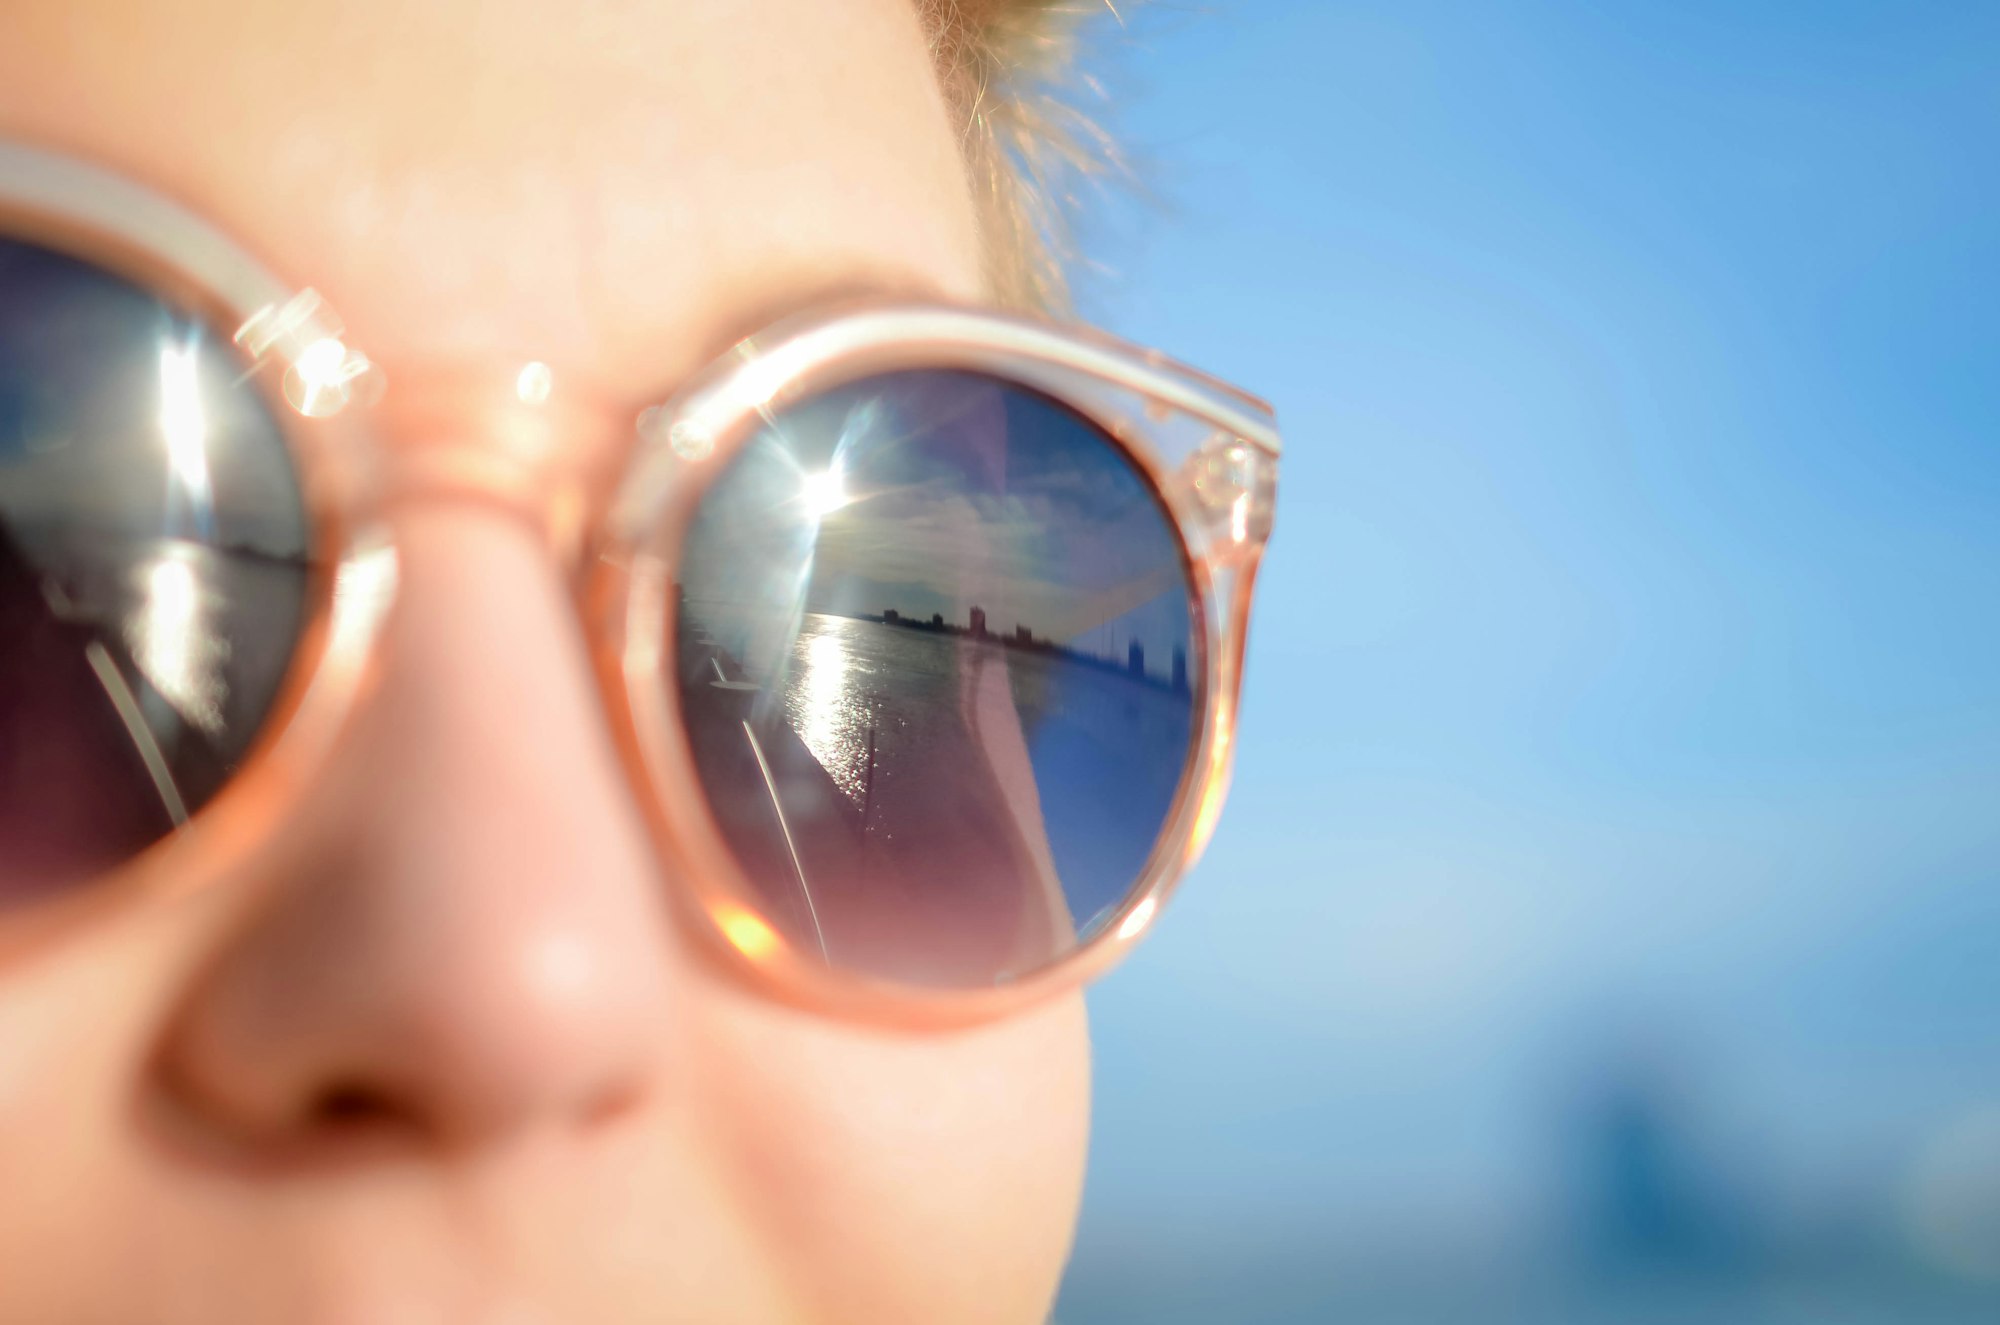
Have you ever noticed some reflections back on certain smooth surfaces or transparent materials during your photo shoots? These glares can affect the look of your pictures, and it's essential to remove light glare from the photo, especially in carefully laid out and composed pictures.
With the advancement of technology, Photoshop is no longer the only solution, and AI allows us to eliminate glare more efficiently. What's even more surprising is that you can achieve glare removal for free, so let's see how it works!
Why We Need to Remove Glare from Photo?
Glare can significantly reduce image quality and distract viewers from the intended subject of the photograph. Glare can cause overexposure, loss of detail, and unwanted artifacts that detract from the overall aesthetic and impact of the image.
Additionally, glare can distort colors and create unwanted reflections, especially on shiny surfaces like glass or water. Why do we want to remove reflection from the photo? We can expand on the following aspects.
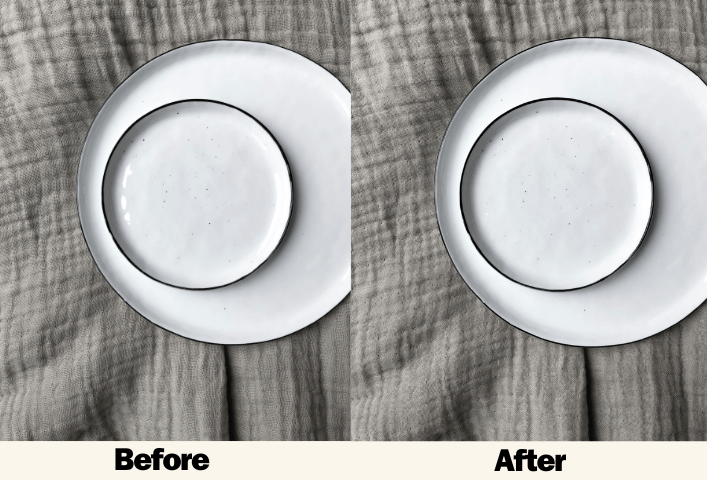
- Enhance image clarity. Glare obscures details and textures in a photo, reducing its clarity and sharpness. By eliminating glare, you can show essential elements of the scene and improve the overall quality of the image.
- Improves visibility. Glare can cause overexposure and blurred colors, making distinguishing objects and features in a photo difficult. Eliminating glare improves visibility, allowing viewers to see the subject more clearly.
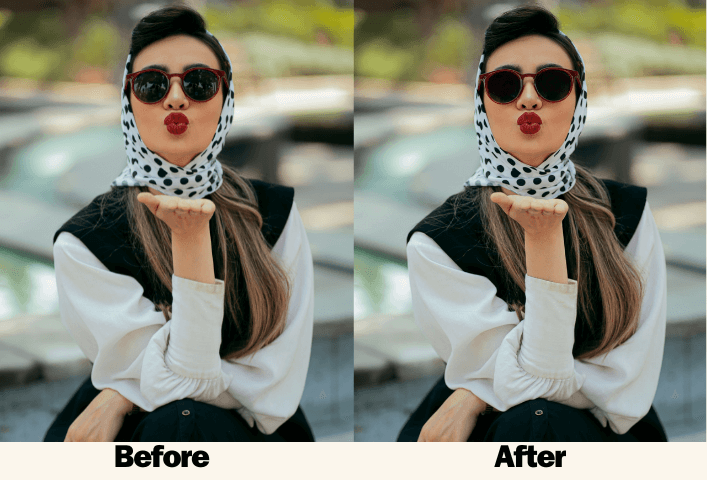
- Reduce distractions. Glare can draw attention away from the photograph's subject and distract the viewer. Eliminating reflection ensures that the focus remains on the subject and minimizes distractions from the overall composition.
- Glare only sometimes contributes to achieving the desired photo aesthetic. In many cases, the photographer's goal is to capture a scene with balanced light and minimal distractions. Eliminating glare helps achieve this aesthetic by creating more visually appealing images.
- Glare distorts colors and creates unwanted reflections, reproducing inaccurate color while maintaining color accuracy. By eliminating glare, you can ensure that colors are true to life and preserve the integrity of the original scene.
- For professional photographers, eliminating glare is critical to producing high-quality images that meet the standards of clients and viewers. Glare-free photos convey a sense of professionalism and attention to detail, which enhances a photographer's reputation and credibility.
How to Remove Glare From the Photo?
When we have taken the photo, how do we eliminate the glare on the picture by post-processing? We can use the traditional photo editing software Photoshop to process the images. This requires a certain understanding of the user of the picture editing.
And there are more steps to operate, which could be more friendly to the average user. It will take a lot of time because of the long learning curve. What are the ways to remove the glare more efficiently? Using Objectremover, this can all be done in just a few clicks. So what is the Objectremover?
What is ObjectRemover?
ObjectRemover is a program that uses AI technology to allow users to upload an image. AI recognizes and analyzes the subject and background of the image. The user covers the part to be erased with a brush, and the AI Objectremover the part covered by the user while repairing the background of the erased position. The AI technology makes removing glare a breeze. All the user needs to do is upload the image, paint it, and click the erase button.
Let's Learn about ObjectRemover
Objectremover is a free online photo eraser that users can use to erase any object on a picture. For example, remove sun glare from the photo. Everyone can access it anytime and anywhere. It only requires access to a webpage, whether a mobile phone or a computer.
Objectremover is easy to use. Users need to upload a photo and paint the part to be erased with a brush. The most important thing is that the results of his erasure are very surprising. And it's free, which is the best value for money for users. Let's see how to use it!
Step-by-Step Guide to Removing Glare
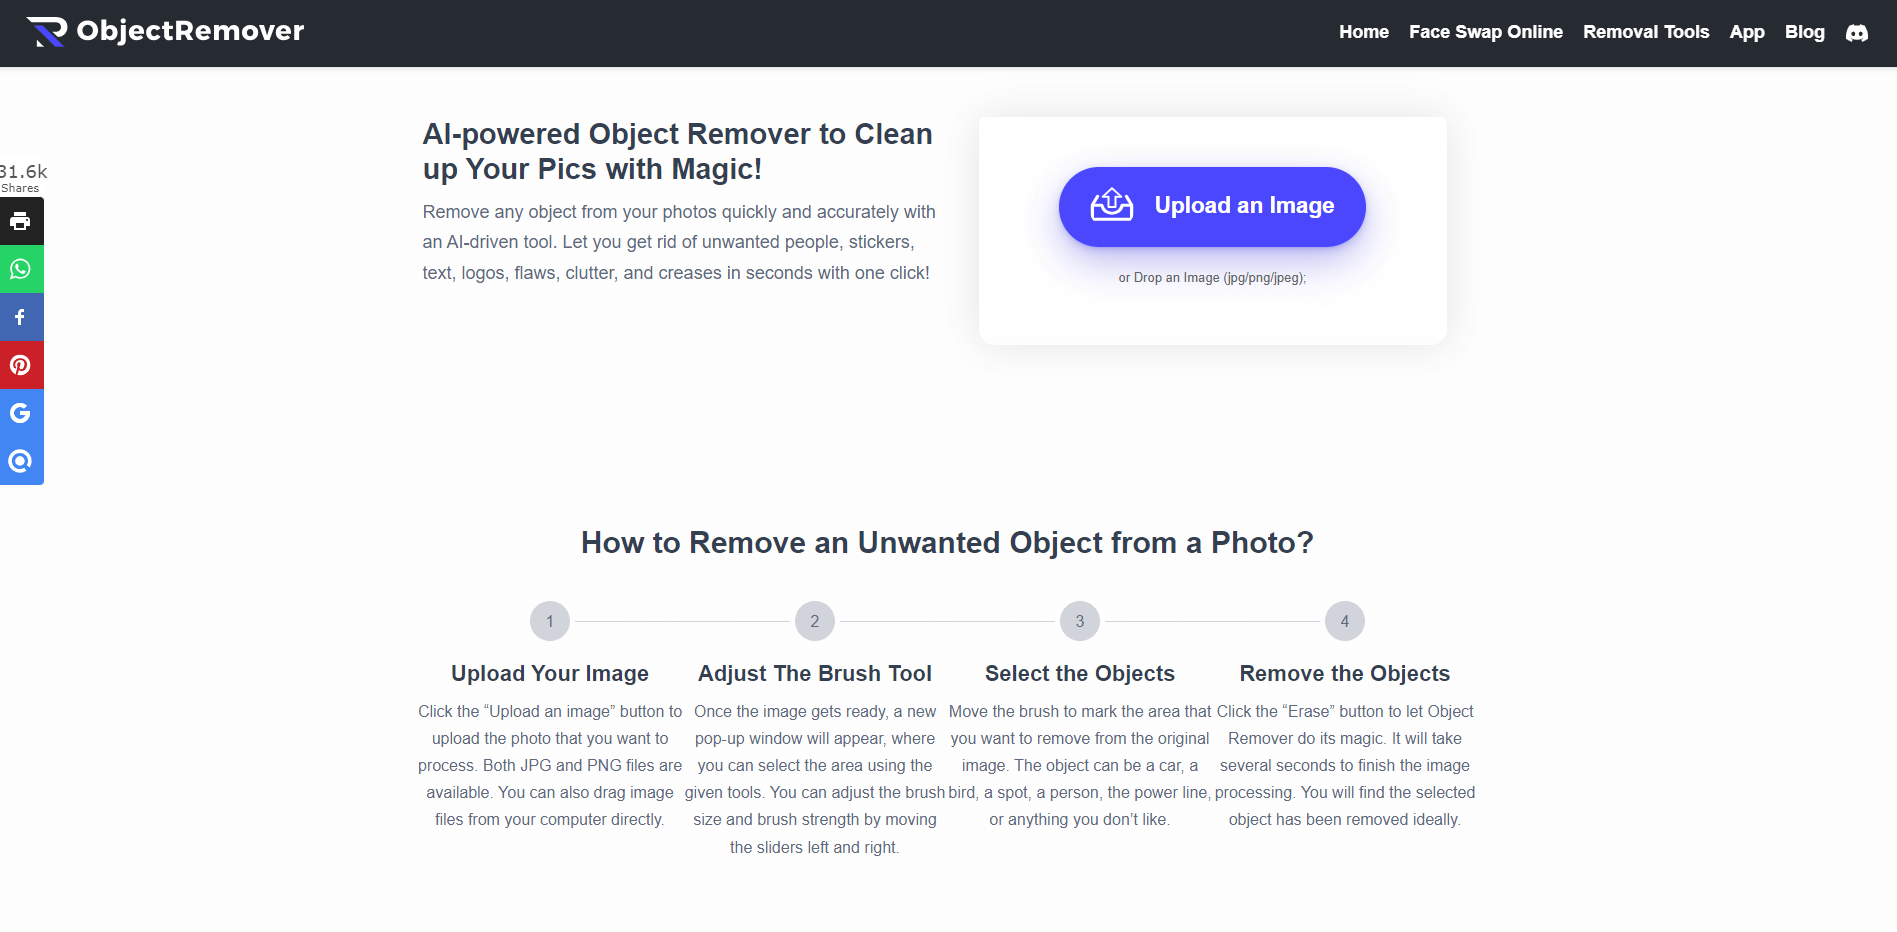
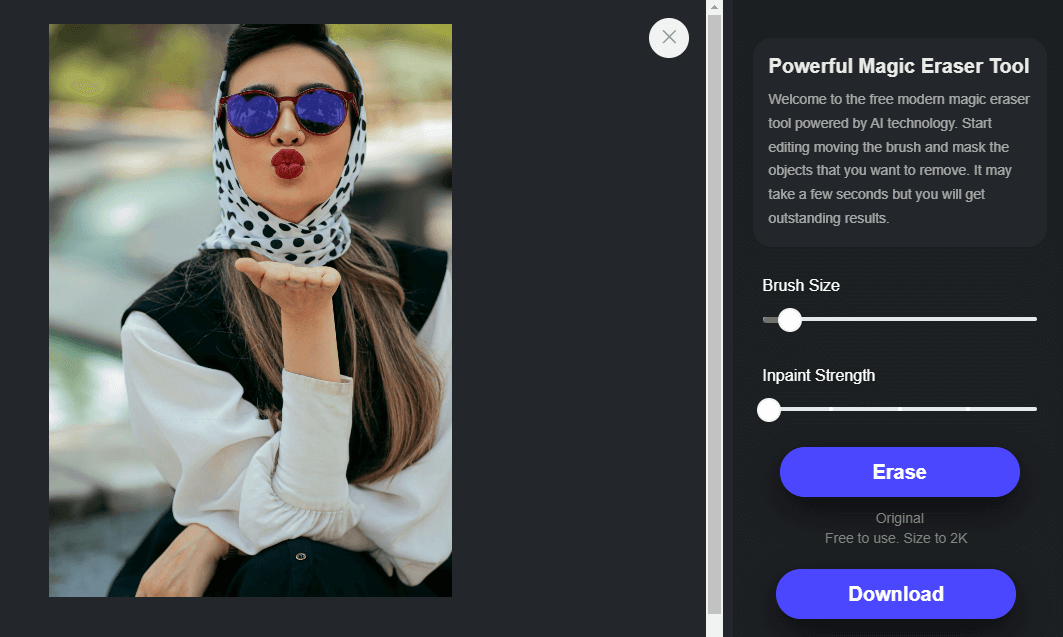
- Step 1: Go to Objectremover's homepage. You will see a button "Upload an Image" on the right side of the page. Click on it and upload the image you want to erase the glare.
- Step 2: After uploading the image, you will enter the operation interface and use the brush to cover the area with glare. You can adjust the brush size by selecting "Brush Size" and erasing the strength "Inpaint Strength" on the right side of the page.
- Step 3: Click "Erase" to start erasing when the erasing is finished, and click "Download" to download if you are satisfied with the erasing result. If you still need to optimize, you can repeat the second step.
AI Remover: AI Object Eraser and Image Enhance
Objectremover has also launched an APP called AI Remover, which is completely free, and users can use it not only to erase unwanted objects from the picture but also to enhance the picture. Users can download the client to use it, which is very convenient. Let's look at how to use the app and how it works.

AI Remover
A Remover-Obiect Remover is a one-stop photo cleaner and enhancer to improve your image quality. With only one click, it removes unwanted content from your photos while seamlessly reconstructing the background to give you that perfect shot you've always desired.
How to Use AI Remover
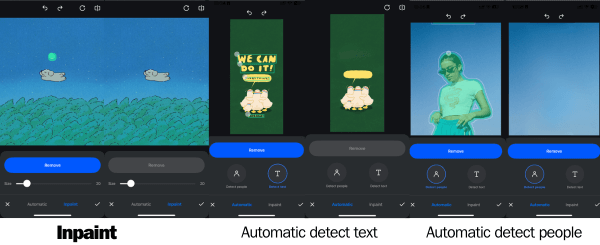
- Inpaint
- Step 1: Enter the app and click Inpaint. Select the picture in the album to erase the object. Manually painting will show "Inpaint." After finishing painting, you can click "Remove" to start erasing. Under the button "Size," the user can adjust the brush size according to the size of the erased object.
- Step 2: AI Remover also supports automatic recognition to erase. Click "Automatic" below the button, and users can choose "Detect people" or "Detect text". After the recognition is completed, click the "Remover" button and the "√" icon in the lower right corner to save the changes.
- Step 3: Edit Image Users can adjust the parameters at the bottom of the page to adjust the image. When finished, click the "Save" button on the top right corner to save the image locally.
- Enhance
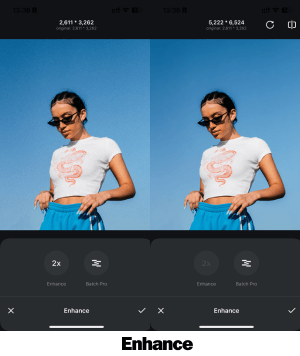
- Step 1: Enter the app and click Enhance. Select the image you want to enhance in the album.
- Step 2: After entering the enhancement interface, click the "2x" icon to enhance the image twice. Click the icon in the upper right corner to compare, and click the first button in the upper right corner to restore.
- Step 3: Save the changes and click "√" in the lower right corner to enter the editing page for parameter adjustment. To save the image, click the purple button "Save" in the upper right corner.
- Other Function
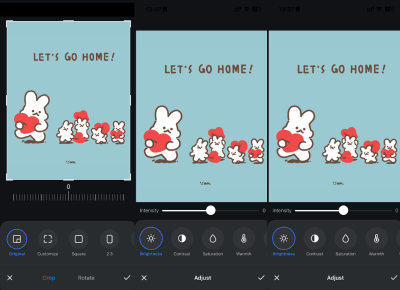
- Cropping: Users can crop the picture according to their preferences. There are preset ratios or free cropping. Users can also rotate and adjust the image.
- Adjustment: Brightness, contrast, hue, sharpening, clarity exposure, etc. Users can change according to their needs.
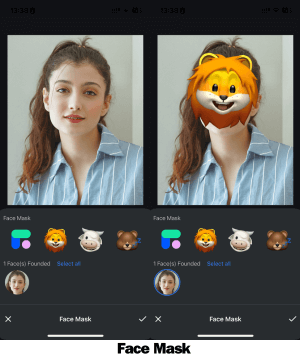
- Mask: If users upload a portrait photo of a person, the facial information in the picture will be automatically recognized in the Fcaemask function. Users can choose the material in the mask library to mask the face.
- Filter: Users can add filters to their pictures according to their preferences. There are eight filters for users to choose from.
Tips for Preventing Glare in Future Photos
In addition to post-processing, we can avoid glare during the shooting process. The following may help us.
- Use a Lens Hood: A lens hood helps block unwanted light from entering the lens at oblique angles, reducing the chances of glare and lens flare.
- Change Shooting Angle: Sometimes, changing your shooting angle can help you avoid glare. Experiment with different angles until you find one where glare is minimized or eliminated.
- Use a Polarizing Filter: A polarizing filter can help reduce glare and reflections from non-metallic surfaces such as water, glass, and foliage. Rotate the filter until you achieve the desired reduction in glare.
- Adjust Camera Settings: If you're shooting in manual mode, you can adjust the aperture, shutter speed, and ISO to control the amount of light entering the camera and minimize glare.
- Use a Lens with Multi-Coating: Lenses with multi-coating are designed to reduce glare and reflections, resulting in clearer images with better contrast.
- Diffuse Light Sources: If you're shooting in a studio setting, use diffusers or umbrellas to soften and diffuse harsh light sources, which can help minimize glare.
- Clean Your Lens: Dust, fingerprints, and smudges on your lens can cause glare and reduce image quality. Make sure to clean your lens regularly using a microfiber cloth and lens cleaning solution.
- Avoid Direct Sunlight: Shooting in direct sunlight can often lead to harsh glare and strong shadows. Consider shooting during the golden hours (sunrise and sunset) when the light is softer and flatter.
Conclusion
Here we will find that glare on pictures can also be easily removed by using AI Objectremover. It's not just about glare. Any object you don't want in your image can be removed: text, people, watermarks, smudges, etc.
Objectremover is a fantastic tool that makes removing objects in image post-processing very efficient and easy. We learned how to remove glare from pictures in this article, and we also have the flexibility to remove flash and shine from photos with Objectremover. Let's find a recently taken photo and try it now!