6 Tools to Easily Remove Unwanted Objects from Photos

Have you ever taken a great photo only to discover later that there were unwanted elements in it? It happens to all of us. Whether it's someone accidentally walking into the frame or a photobomber stealing the spotlight, these intruders can ruin an otherwise perfect picture. But don't worry, and there's a solution! You can use an image object remover to delete clutter from your photos easily.
Deleting unwanted items from your shots is essential to create appealing pictures. Even the tiniest unwanted element can distract viewers and take away from the overall beauty of the image. That's why I'm here to help you discover six of the most popular programs for removing these undesired objects from your digital photographs.
Part A: Remove Unwanted Things from Photos on Desktop
1. Adobe Photoshop
Adobe Photoshop has long been considered the industry standard in the field of image editing, enjoying widespread recognition and admiration from over 90% of artistic professionals worldwide.

Its extensive range of advanced picture editing features contributes to its popularity, making it an excellent choice for removing distracting elements from images while maintaining the overall quality.
Clone Stamp Tool
One effective tool within Photoshop for removing background-blending elements is the Clone Stamp Tool. To utilize this tool, follow these steps:
· Create a new layer and select the "Clone Stamp" option from the toolbar.
· Press and hold the "Alt" key on your keyboard while clicking on the specific location in the image that you want to sample from.
· Start painting over the target area with the cloned pixels, adjusting the brush size and opacity as needed. Click multiple times to achieve the desired effect.
Spot Healing Brush Tool
Another efficient method for removing unwanted elements, especially when dealing with a simple background and a small-sized object, is the Spot Healing Brush Tool. Here's how to use it:
· Duplicate the layer that contains the photo to work on a separate copy.
· Access the "Spot Healing Brush" tool in Photoshop, typically found in the toolbar.
· Choose an appropriate brush size and begin covering any mistakes or unwanted elements by simply painting over them.
These steps allow you to utilize the Spot Healing Brush Tool effectively for cleaning up your workspace.
2. InPixio's Photo Studio
InPixio's Photo Studio provides a convenient and user-friendly solution for removing distracting items or even entire backgrounds from your photographs. Let's find out the two photo-erasing processes available in InPixio's Photo Studio.

I. Correction Patch Tool
When faced with photographs that have complex backgrounds, the Correction Patch Tool comes to your aid by allowing you to replace a specific area with another. Follow these steps to effectively remove clutter using this tool:
· Select the "Correction Patch" option and hold down the left mouse button while drawing a precise selection around the item you want to remove from the image.
· Release the mouse button and choose a suitable replacement selection for the patch.
· This could be from another area of the image or a different image altogether.
· When you release the mouse button for the second time.
· The magic happens as InPixio's Photo Studio seamlessly replaces the selected area with the new patch, blending it naturally into the rest of the image.
II. Erase Tool
The Erase Tool enables you to effortlessly remove unwanted objects from your photographs while automatically refining the background. It works best when the background is plain and consistent. Follow these simple steps to edit imperfections flawlessly:
· Select the "Erase" option and use the lasso tool to outline the elements you want to delete from the image.
· Keep the left mouse button depressed and create a closed boundary around the unwanted items, ensuring you encapsulate them entirely within the selection.
· With a single click of the "Erase" button, InPixio's Photo Studio makes the selected elements vanish, leaving behind a refined background that seamlessly blends with the rest of the image.
Part B: Remove Unwanted Things from Photos Online
3. ObjectRemover
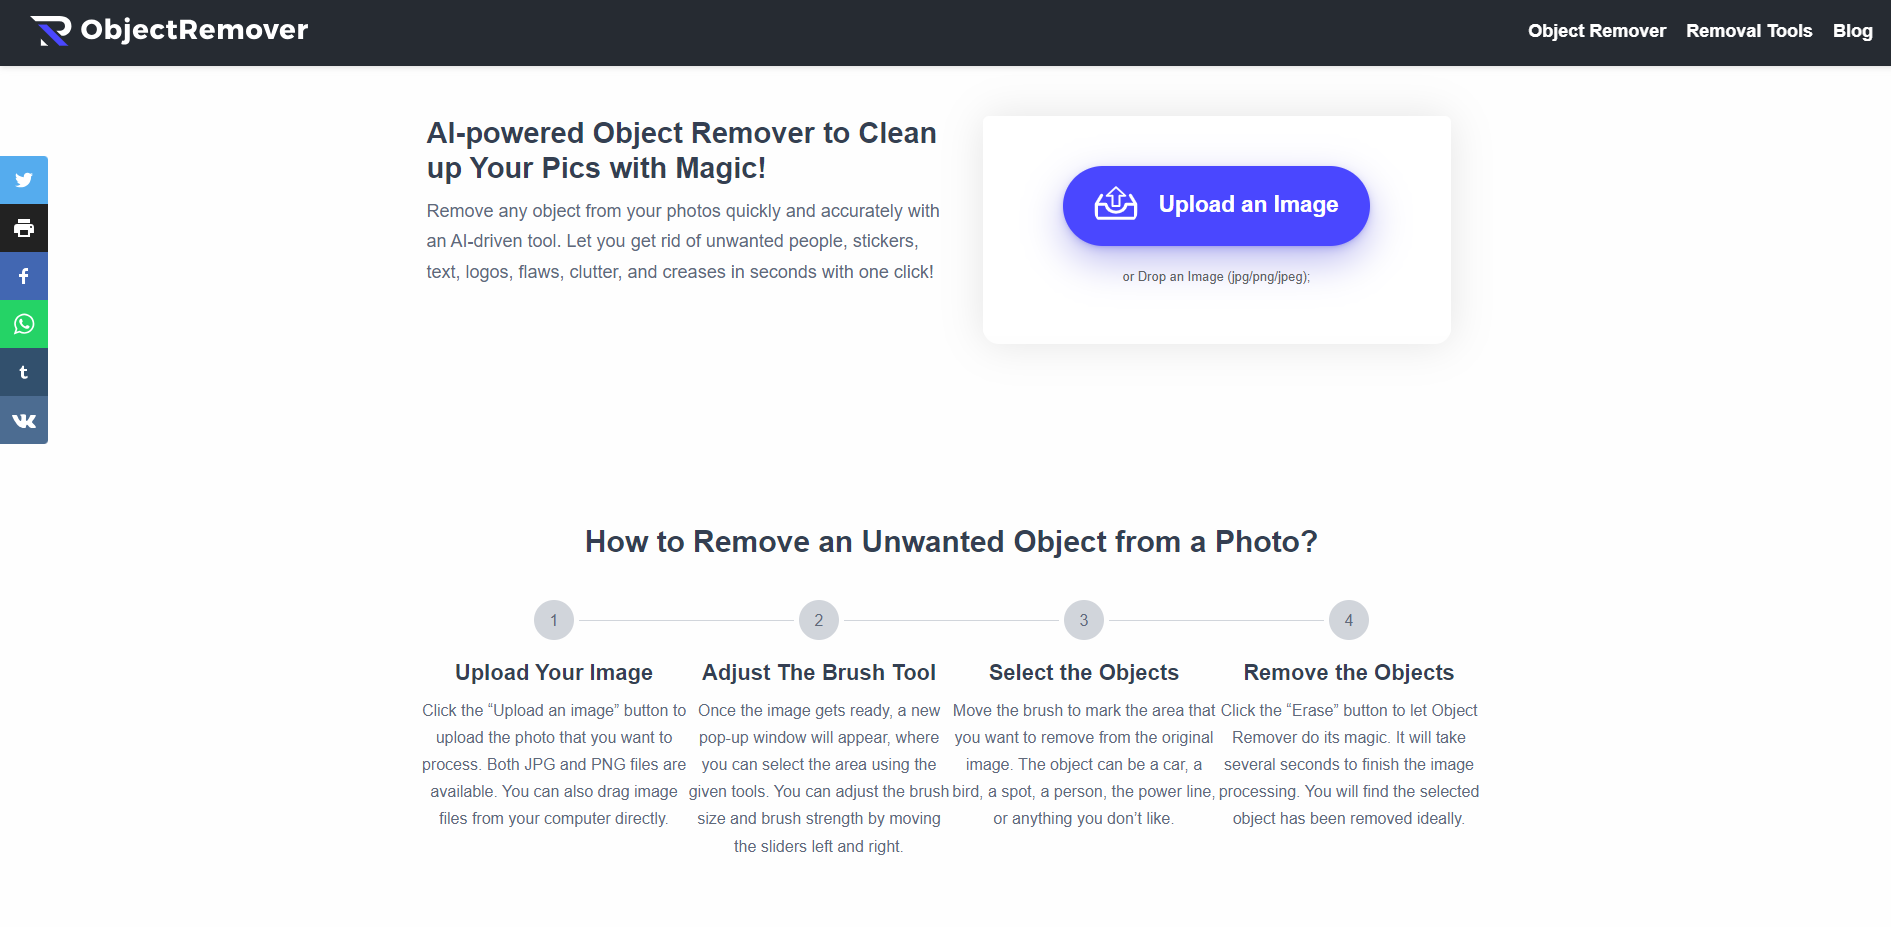
Object Remover, an AI-powered tool, offers a convenient way to clean up images. With a few clicks, it efficiently removes unwanted elements like logos, signs, or watermarks.
In e-commerce, high-quality product photos are key. ObjectRemover aids in crafting professional-grade images by removing background noise. Just with simple steps, users can create striking product visuals that engage buyers.
On social media, where visuals matter, Object Remover is invaluable. It erases undesired parts, upgrading the overall aesthetic of your shared content. Dismiss disarray and embrace neat compositions with ObjectRemover.
Even for personal photos like selfies, ObjectRemover can elevate the picture by discarding distractions. The result? Your picture is undisturbed and striking.
Here's a quick guide on using ObjectRemover:
- Go to the page and click the purple 'Upload' button to upload an image.
- Use the brush to cover the part you wish to remove precisely. Once the object is fully covered by the light purple color, you can proceed to the following step.
- Click the "Erase" button to initiate the erasing process and wait for a few moments. The image transformer will swiftly complete the process!
- After a brief processing time, you will witness the outstanding result. Select "Download" to save the file locally.
4. Fotor
Fotor is a reliable and user-friendly picture object remover that provides a straightforward solution for eliminating unwanted items from your photos. Its unique clone capability allows you to effortlessly scrub out unwanted aspects, elevating your pictures to new heights.
Looking to erase text, shoo away unexpected intruders, or just tidy up some clutter? With Fotor, you've got an all-in-one fix to refine your photos to perfection.

Fotor works smoothly, adding a touch of charm to your images, whether you're dipping your toes in photo editing or you're a seasoned pro. The easy interface makes sure that anybody can use it to banish unwanted elements from their photos, irrespective of their editing prowess.
Ready to make an unwanted object in your photo vanish using Fotor? Let's break it down:
1. Kick things off by heading over to the Fotor website. Hit the "Edit a Photo" button on the homepage to upload the picture you want to tweak.
2. Once you're in, spot the "Beauty" tab among the editing options, and find the "Clone" button.
3. It's time to use Fotor's handy brush tool. It lets you clone a part of your photo you'd like to use to cover up the object you want gone.
4. You're in control: Adjust the brush's size and how opaque it is to get just the right look.
5. Once you've cloned the area and are happy with its appearance, it's time to save your masterpiece. Decide the size and the format that works for you, and voila - you're done!
Part C: Erase Unwanted Elements from Photos Using Apps
5. Lightroom
Lightroom, celebrated for its standing among superior photo editing software, equips image-makers with extensive features to boost their pictures. Its complimentary mobile app puts the power of pro-grade photo editing right in your palm. Plus, it throws in a bunch of handy pre-set enhancements, simplifying the art of photo refinement.

In Lightroom, achieving images that appear natural and clutter-free requires minimal effort. Among its array of features, one noteworthy tool is the healing brush. This tool enables users to effortlessly remove unwanted elements from their photographs, further refining the composition.
Lightroom: The Art of Eliminating the Extraneous
1. Launch the Lightroom app on your smartphone, ensuring you have the latest version installed.
2. Locate and select the "Healing Brush" tool from the available editing options.
3. This tool is specifically designed to remove undesired items from your photos.
4. Begin the removal process by painting over the area where you want to eliminate the unwanted content.
5. Lightroom's healing brush employs an intelligent algorithm that samples nearby pixels and makes the necessary adjustments to blend the area with its surrounding elements seamlessly.
6. If you find that the initial healing outcomes are not entirely satisfactory, don't worry. Lightroom allows you to readjust and resample the overlay until you achieve the desired effect.
7. This flexibility ensures you can precisely attain the look you envision.
6. Snapseed
Snapseed, a mobile application available for both iOS and Android devices, empowers users to transform their images into stunning works of art. With its high-quality toolset, the editing process becomes intuitive and seamless.

Snapseed's healing feature stands out as an invaluable tool for effortlessly removing unwanted elements from photos while seamlessly blending them into the background.
Learn the Healing Art of Erase Unwanted Elements from Your Photos with Snapseed
· Begin by downloading the Snapseed application onto your mobile device from the respective app store.
· Launch Snapseed and select the specific photo you wish to edit from your device's gallery.
· Navigate through the editing tools and locate the healing feature within Snapseed's comprehensive set of options.
· Activate the healing tool by selecting it.
· With the healing feature activated, trace around the unwanted element on the displayed area of your photo using your finger or stylus.
· This gesture allows you to mark the portion of the image you want to remove.
· Once you have traced around the unwanted element, release your finger from the screen.
· At this point, Snapseed's powerful algorithms come into play, performing their magic to remove the selected object from the image while seamlessly blending it into the background.
Attention: The healing feature is most effective in photographs with isolated subjects and minimal noise in the background.
Conclusion
In the realm of photo editing software, the ultimate decision rests with you, the user. Selecting the most suitable option requires careful consideration of your editing style and specific requirements. Investing time in exploring different software and applications is recommended, allowing you to gain hands-on experience and evaluate their compatibility with your needs.